Helpful Tips
DIY Wedding Stationery Tips
Thinking of designing your own wedding invitations or stationery? We love a hands-on couple! But before you hit print or go wild with the glue… here are a few expert tips to help you avoid common (and costly) mistakes.
1. Start with the Envelope Size
Choose your envelope size first. Design your invite to fit that, not the other way around. Custom-sized envelopes are pricey – stick to standard sizes to keep it simple and budget-friendly.
2. Check Postage Costs
Square or oversized invites might look cute, but they can cost more to post. If you’re mailing most of your invites, check the postage rate for your envelope size before you commit.
3. Test Your Paper First
Buy one sheet of the paper or cardstock you plan to use and run a test print. Some materials don’t play nice with all printers – it’s better to find out early.
4. Know Your Printer
Inkjet or laser? What gsm can it print? It matters! Knowing your printer helps us recommend the right type of paper so your print looks great.
5. Make a Sample
Print one, cut it out, and stick it together (yes, kitchen scissors are fine). Then post or bring us the sample and your invite quantity – we’ll help calculate what you need and how best to assemble it.
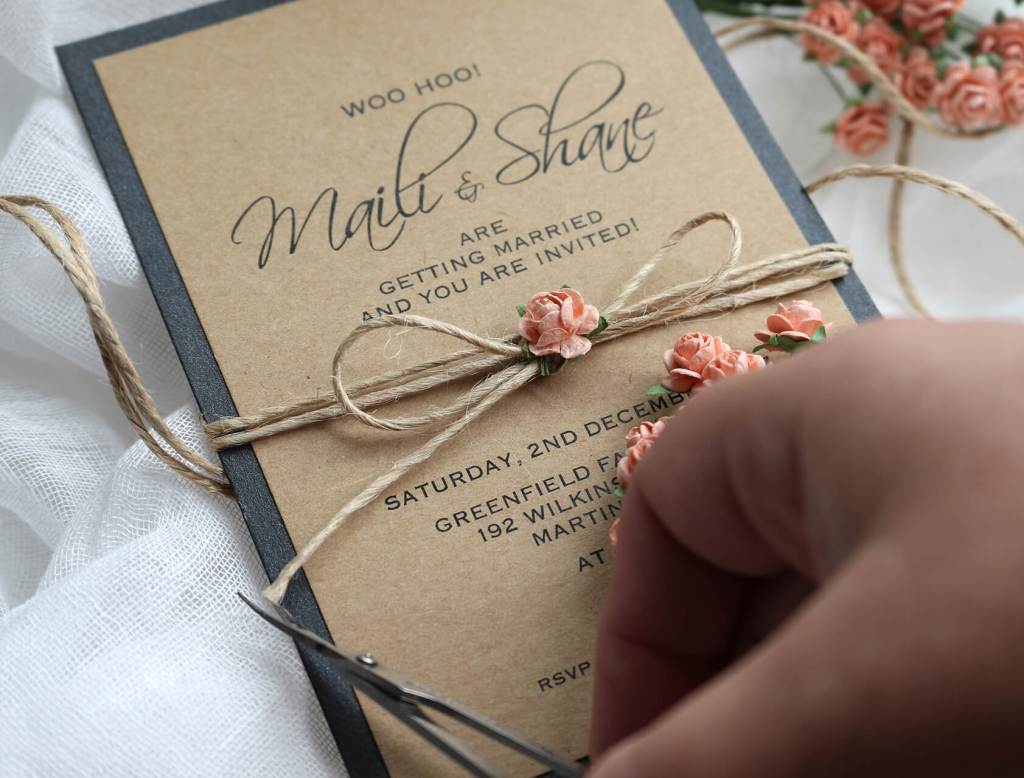
6. No Glue, Please
Glue = lumpy invites. Especially on metallics. Use double-sided tape for a clean, professional finish. The only time glue is okay? If you’re sticking on something chunky like a dried flower or shell – and even then, ask us first what is best to use.
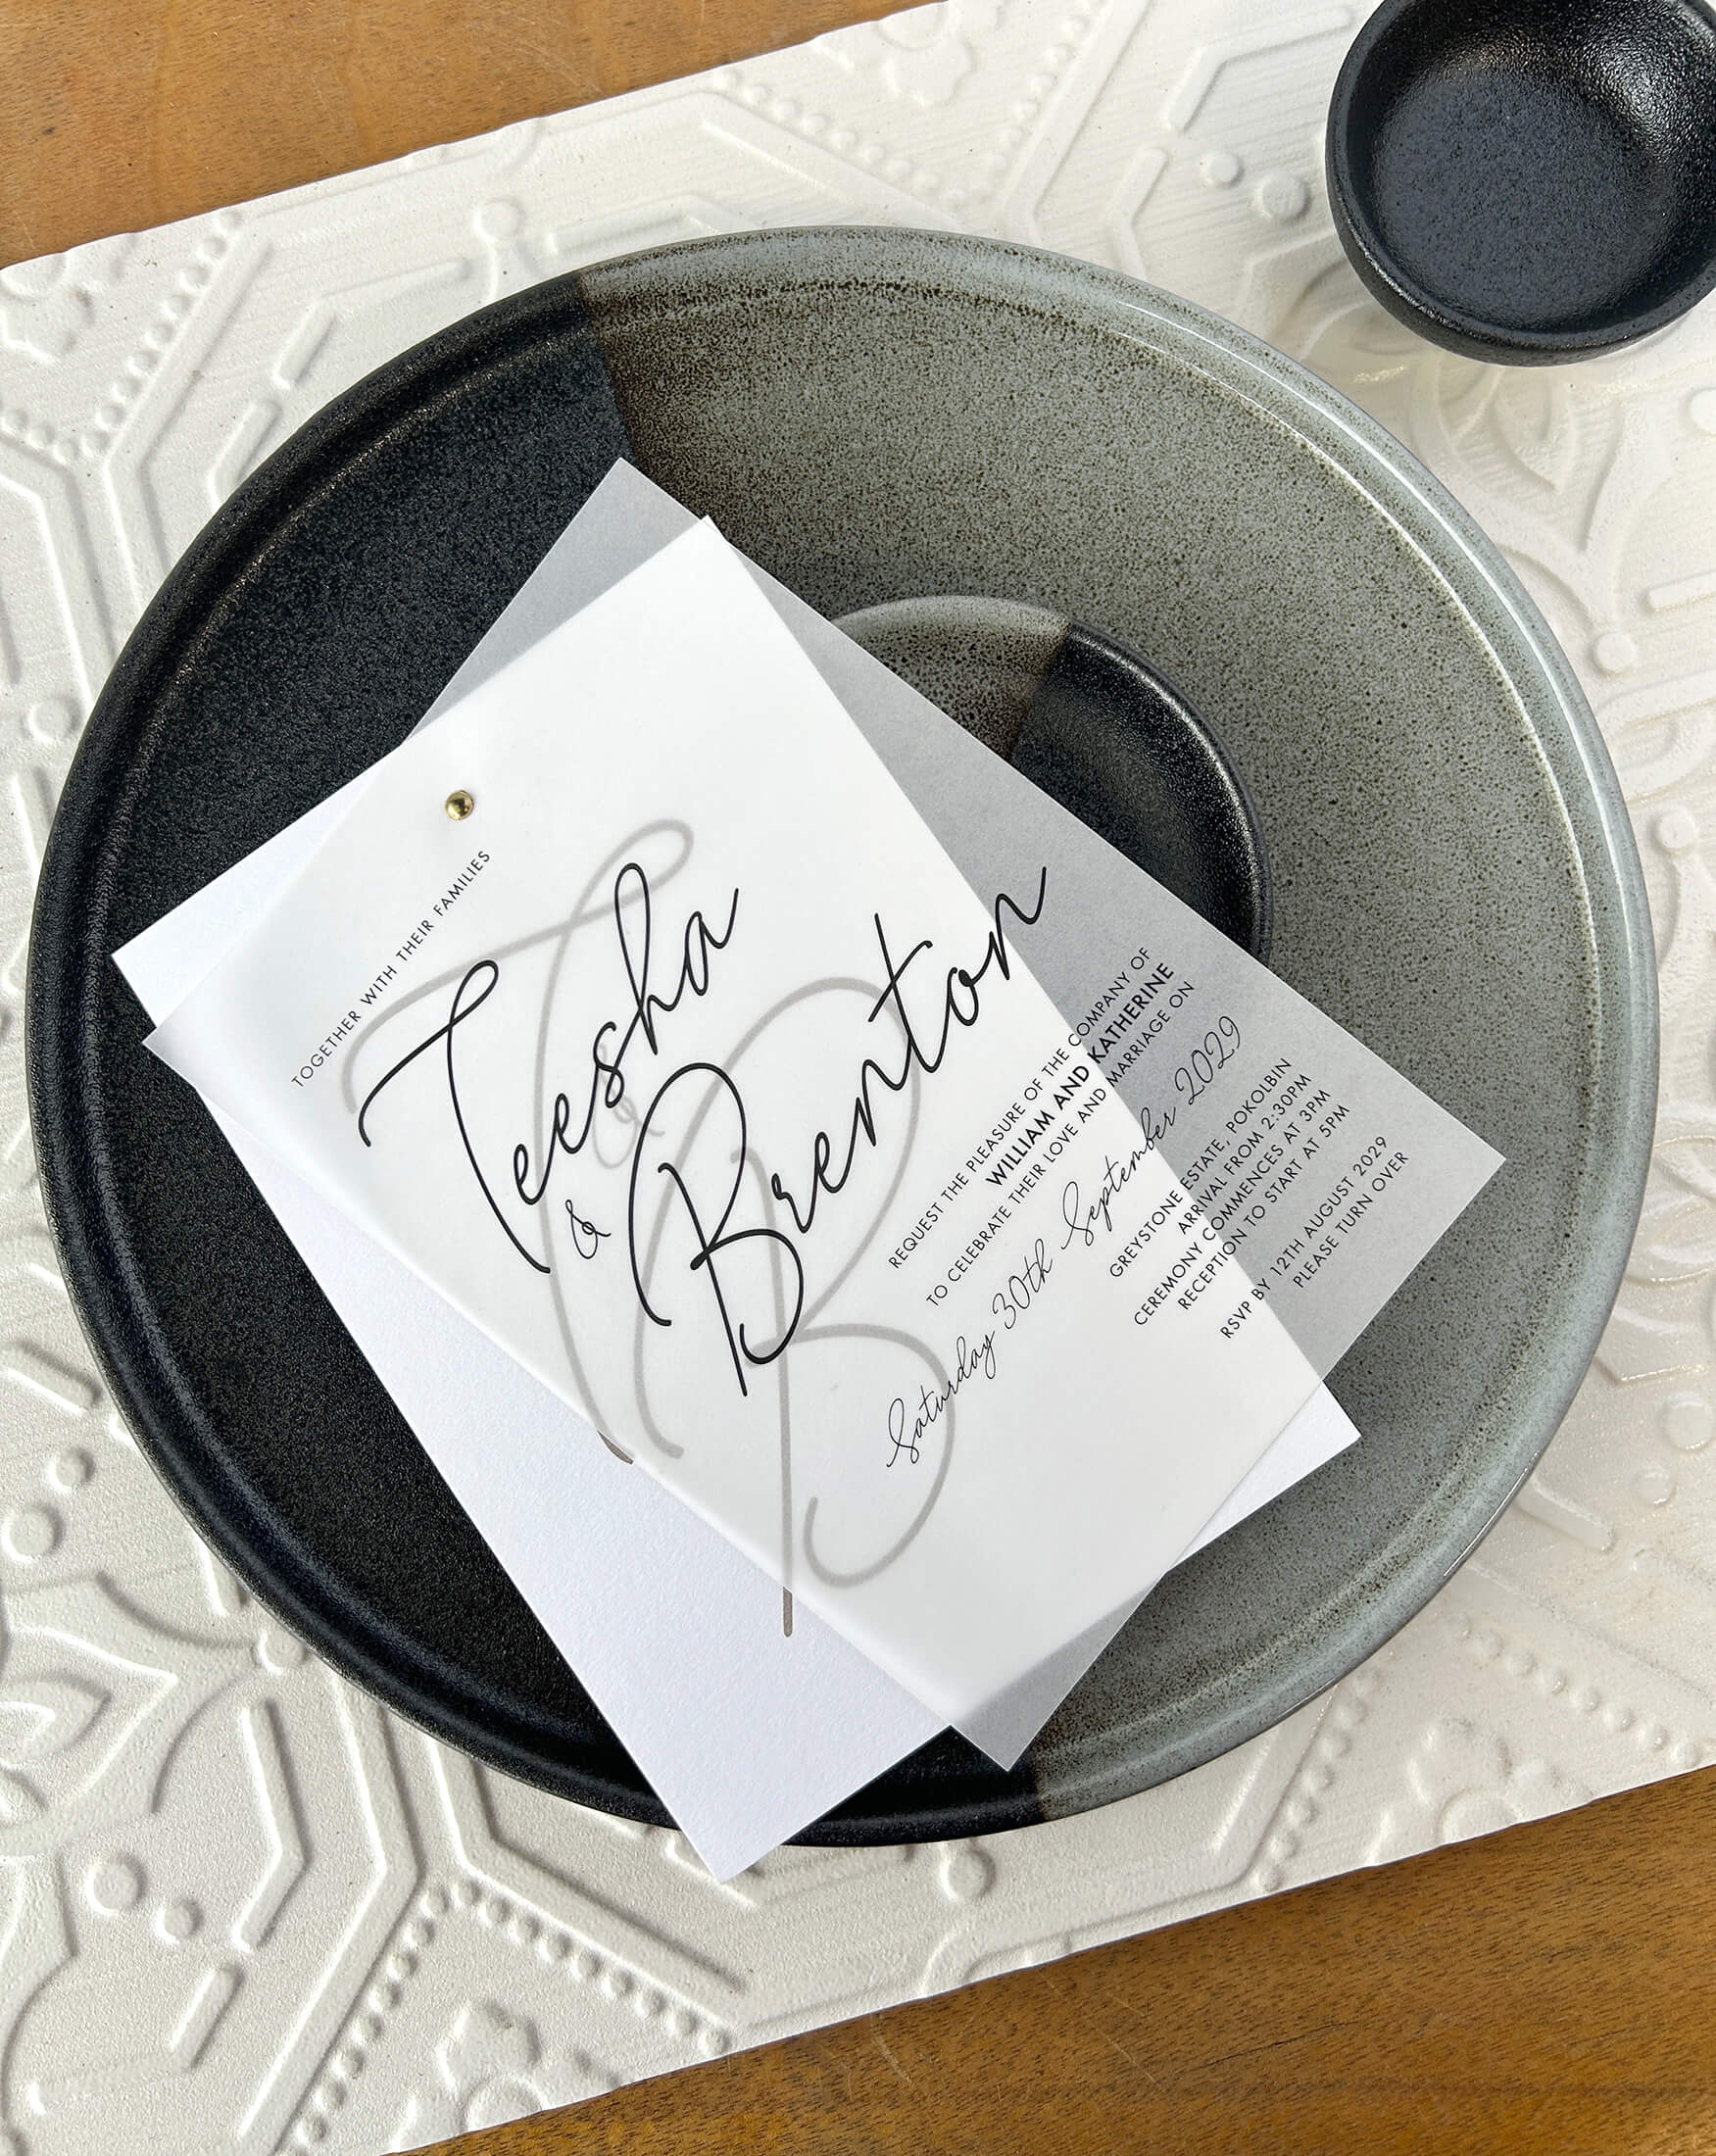
7. Hiding Fasteners
If you’re using metal bits (like brads or studs), go for a layered invite to hide the messy backs between the layers.
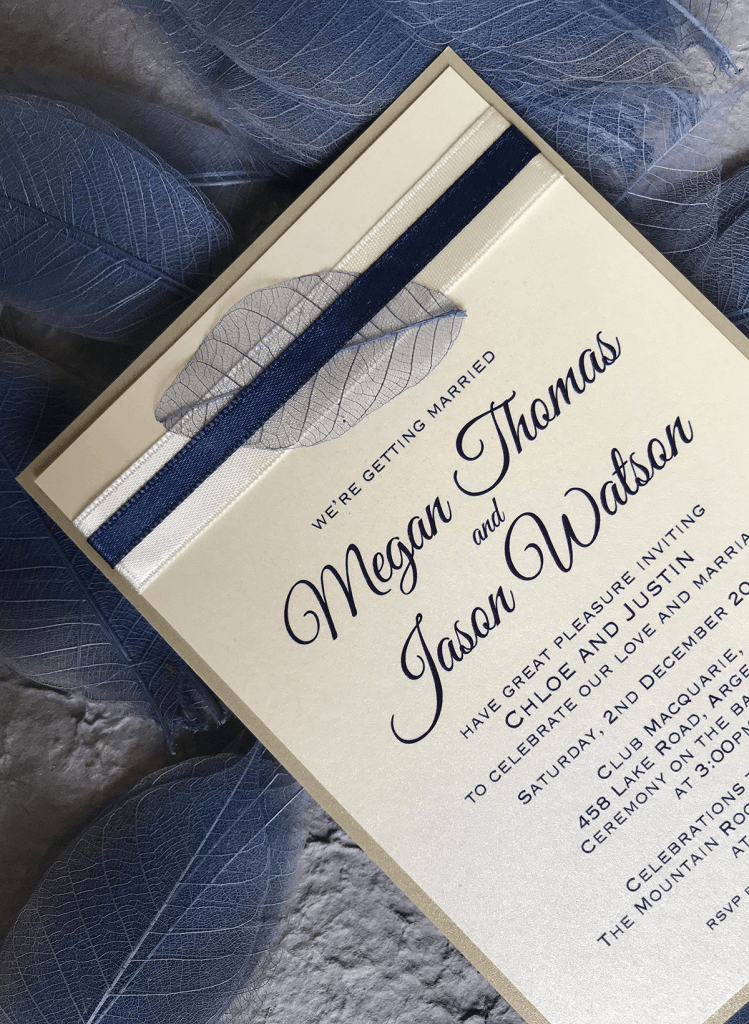
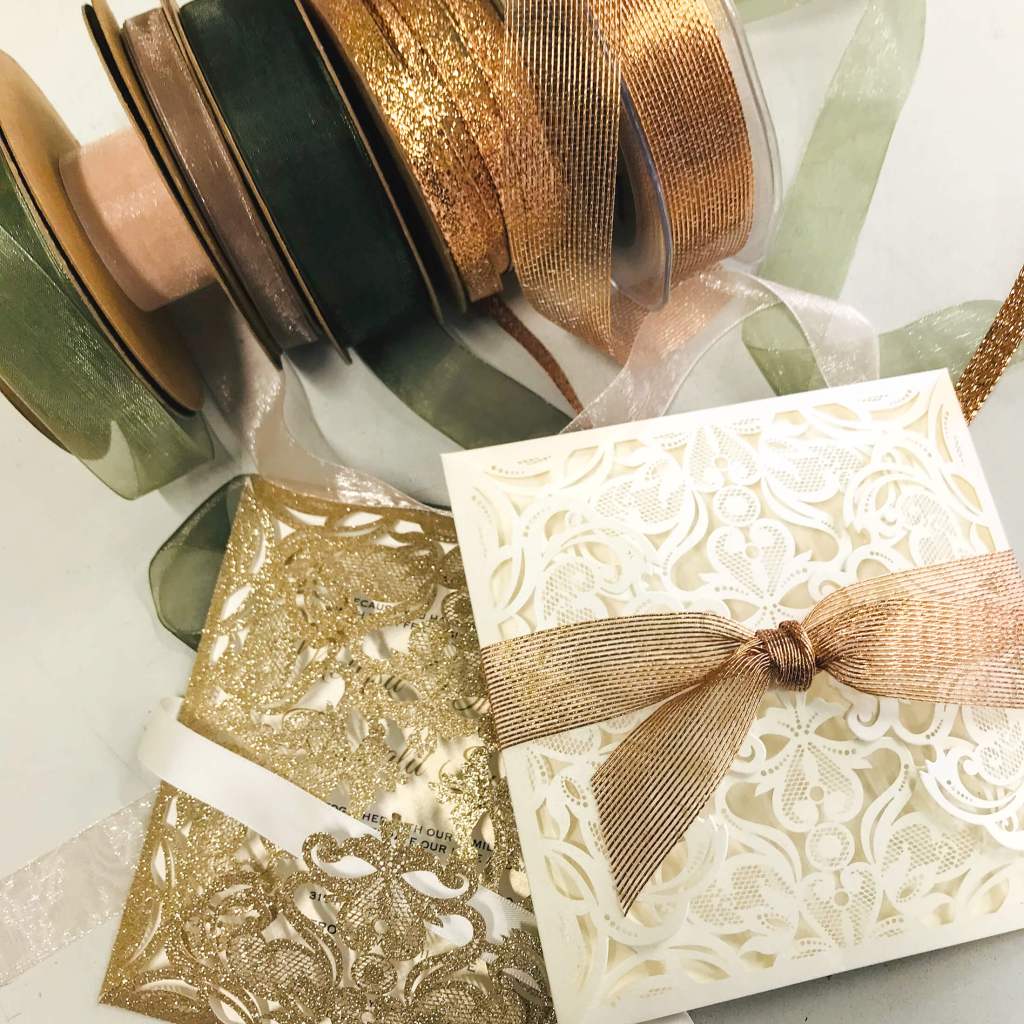
8. Accessorise with Ease
From luxe ribbons and wax seals to modern belly bands and rustic twine, we’ve got everything you need to give your DIY invites that ‘wow’ moment – without the drama.
9. Keep It Simple
The more detailed your design, the harder it’ll be to assemble. Stick to something stylish and straightforward – your future self will thank you.